Success
This page is up to date with editor version
v1.2.7
Features in future versions might not be mentioned here.
Creating the Manifest File
Create a new Material Target under a Skin Group by clicking on the button, then Material Target.
Skin Group entry when hovered
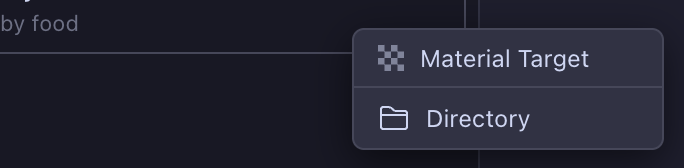
Context menu after clicking on the button
Give your material target a sensible name; this is just the file name and does not have any effect on actual behavior.
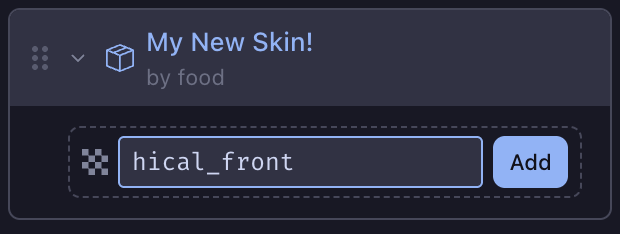
Specify the Material to Match
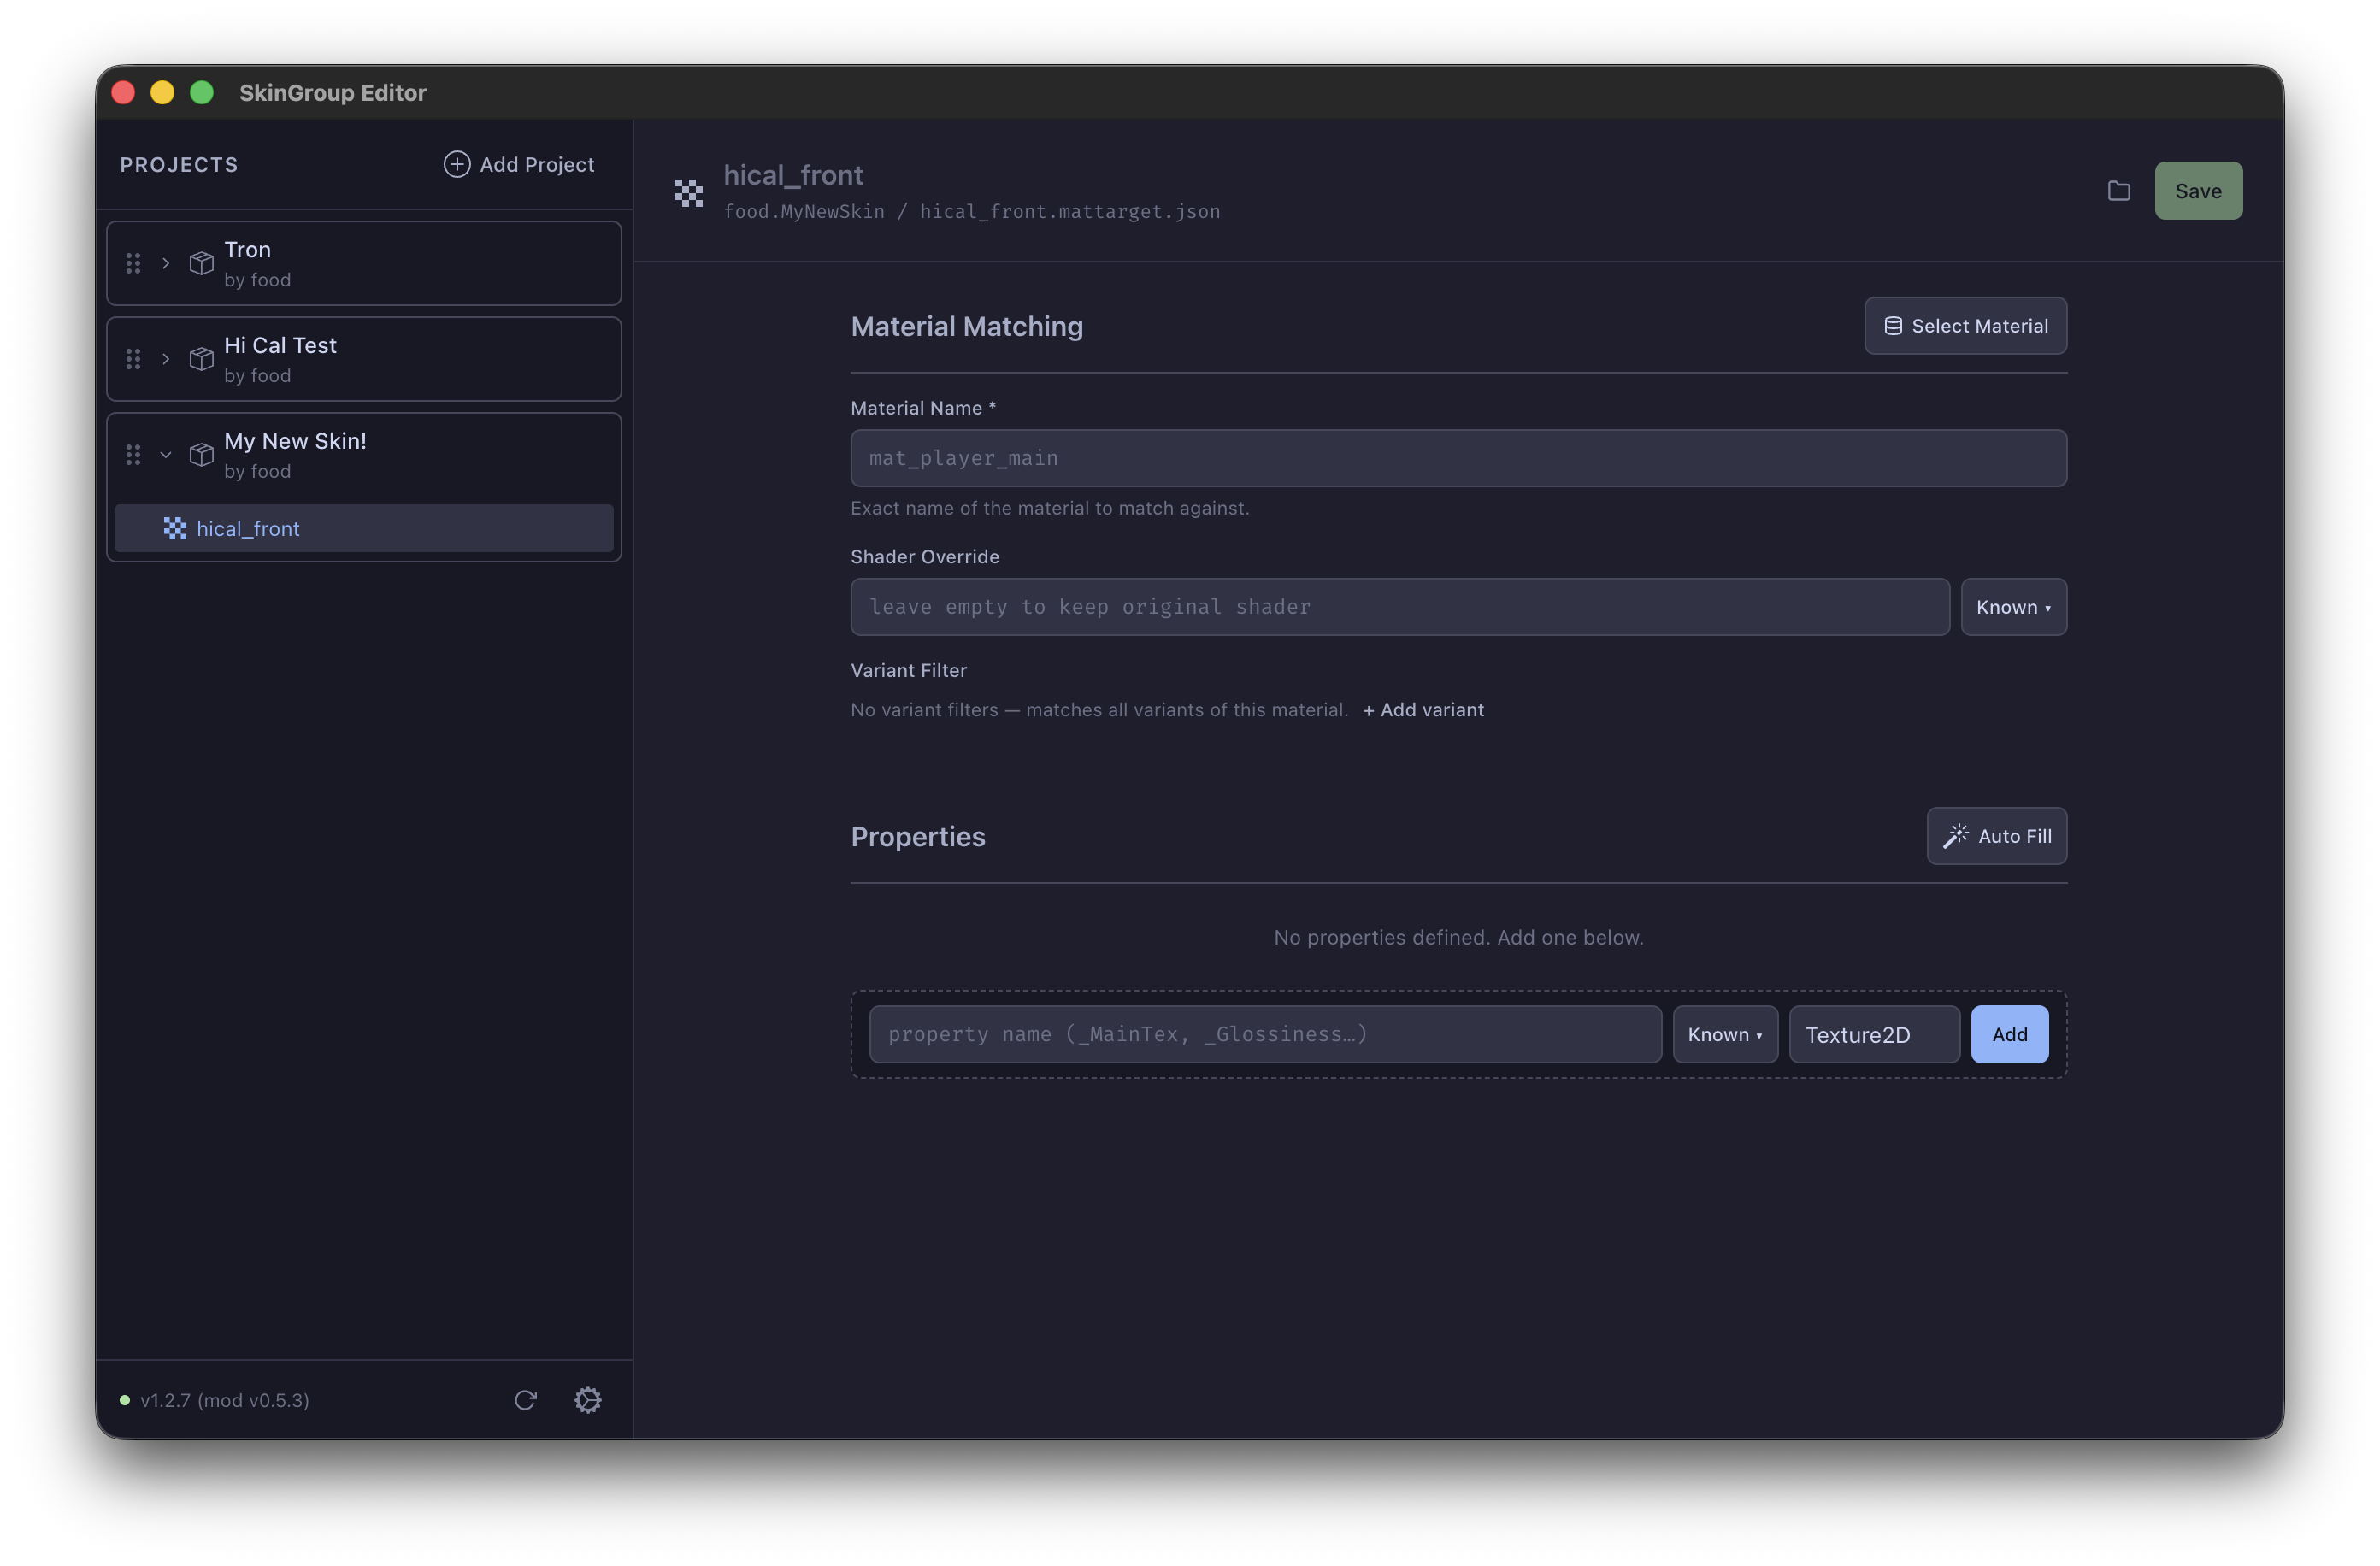
For most use cases, start by clicking on the Select Material button the top right side of the editor.
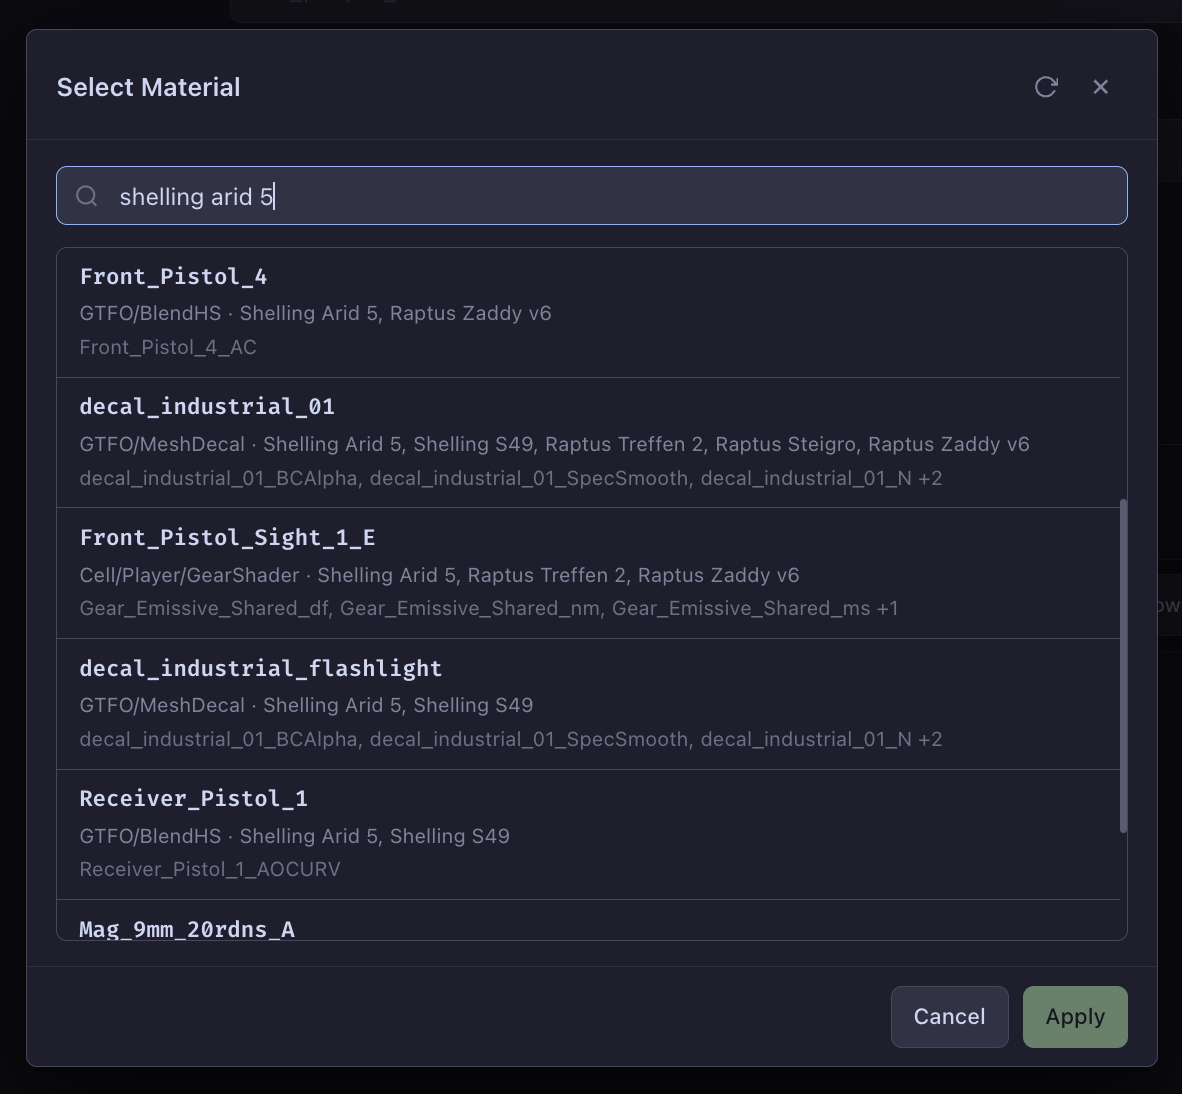
This will bring up the material selection dialog, search for the gear part you want to customize by name of the material, any of it’s default textures, it’s default shader, or the name of the weapon it appears on.
Info
I usually search by the name of the weapon I want to customize as it narrows it down quite a bit.
In my case, I am searching for “Shelling Arid 5” since I want to customize the Hi-Caliber Pistol.
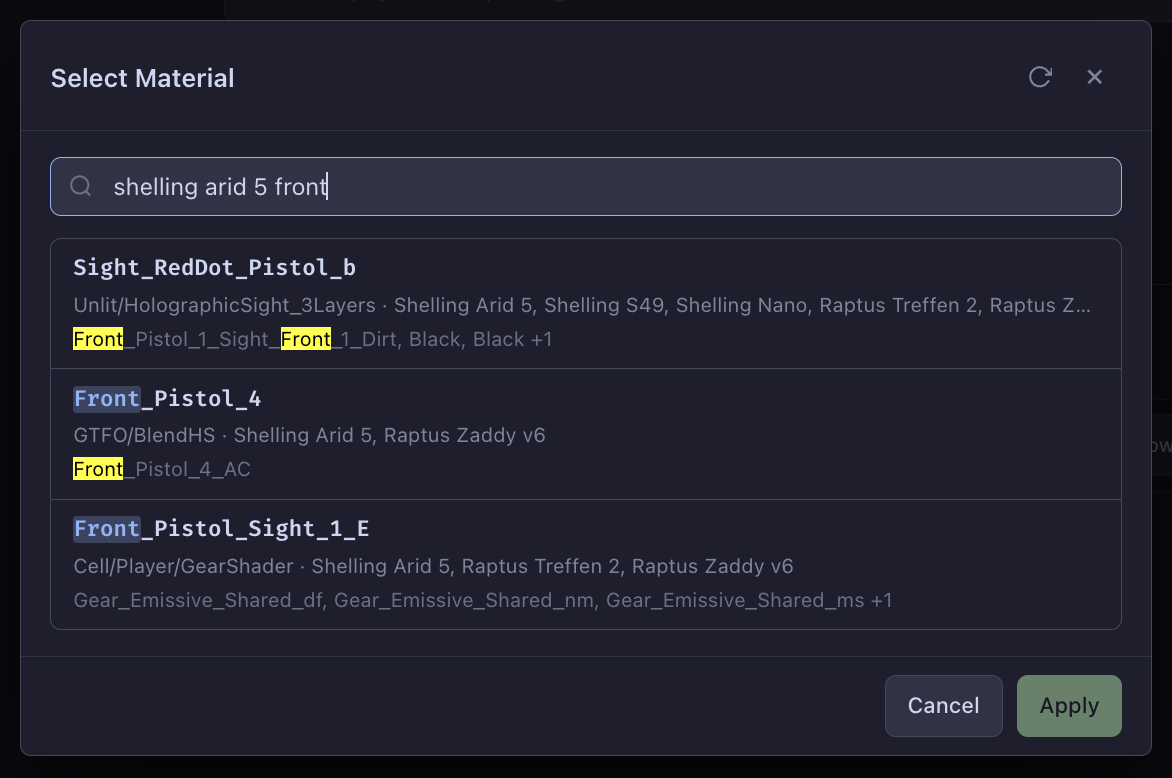
You can narrow down your search further by specifying some of the common names present for different gear parts. For example, I can add front to my query to search for materials that apply to the front of the Hi-Caliber Pistol.
Material Select Options
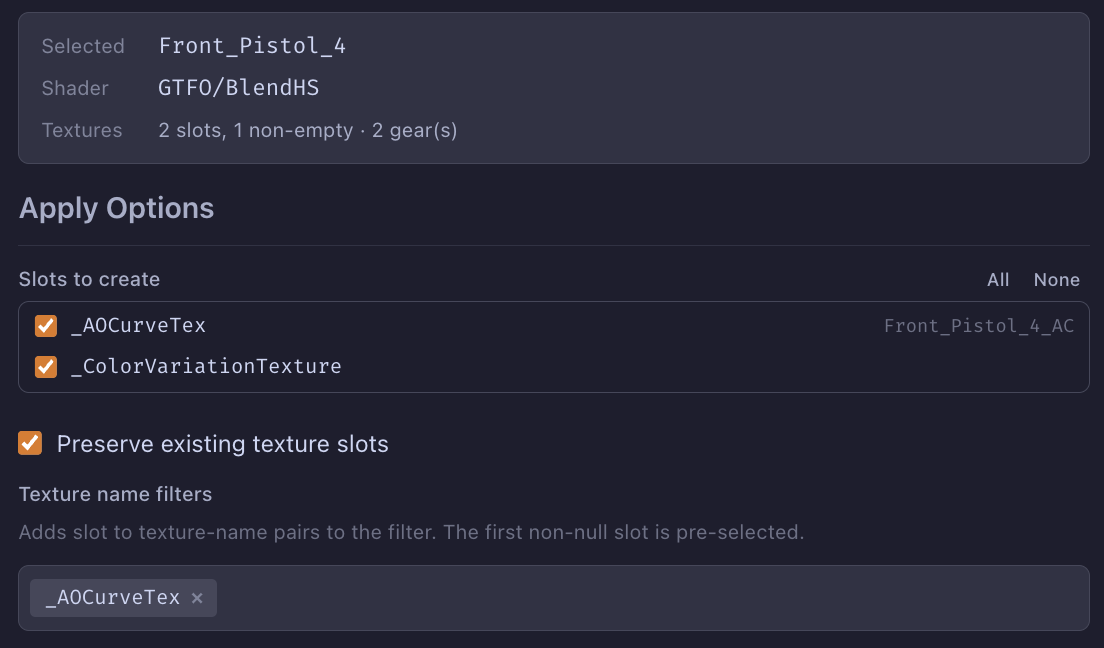
Now, select the material that you are looking for. For my case, I selected Front_Pistol_4. After selecting the material, some additional options will show up before applying this preset.
Slots to create
This options will create texture slot properties for you, this can be very useful if you are sticking to the shader that the material uses currently. Otherwise, you usually don’t want to create any here since the slots filtered here might not apply to the shader you want to override to (we will get to this in a second).
The “Preserve existing texture slots” option, when enabled, will preserve what you have currently and won’t overwrite the properties’ contents.
Texture name filters
This is what is filled into the the “Variant Filter” section and is used to reduce ambiguity when matching materials by their names. By default this selects _MainTex or the first non-null slot if _MainTex is not available.
Info
Leaving the “Texture name filters” as the default is usually sufficient.
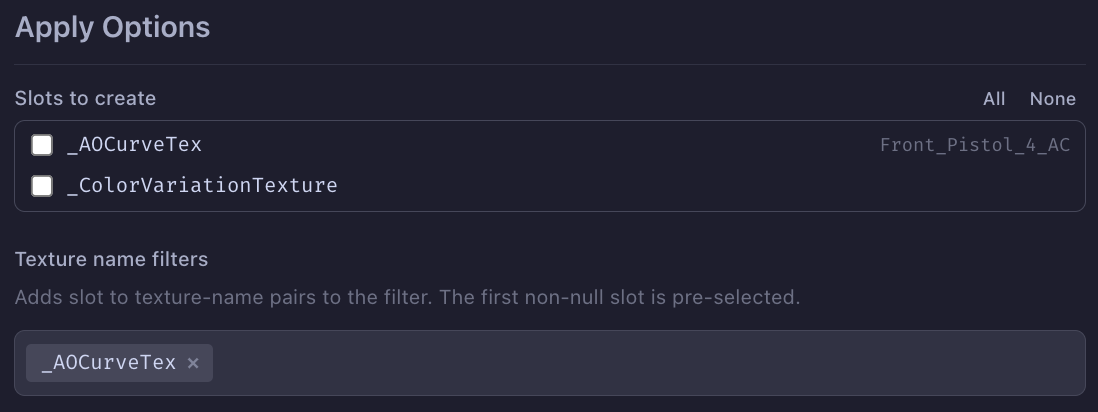
For my purpose, I want to override the shader to something other than GTFO/BlendHS, so I am going to click on None to clear any slots to create. The reason for this is BlendHS is not as easy to customize as some of the other PBR shaders, so I will use one of those instead. Now, click apply to import the settings.
Confirming Details
Let’s look at what that left us. The “Material Name” is filled out for us, along with the variant filter for narrowing down the texture — more specificity is always good. The “Shader Override” field is also set to the default shader of the material.
If we want to add additional variants for the same material name to match we can add a variant in the “Variant Filter” section, but otherwise this all looks good.
Success
It is rare to need to add variants to the the Variant Filter, so leaving it as is is normally just fine.
Info
It never hurts to keep the “Shader Override” field specified even if you are not changing the shader. The mod will not do anything if the existing shader is already what is specified for “Shader Override.” Additionally, specifying the shader will provide more context to the editor for ease of use.
Info
If you didn’t start off by using the material selection dialog, filling out the fields by hand is fine too.
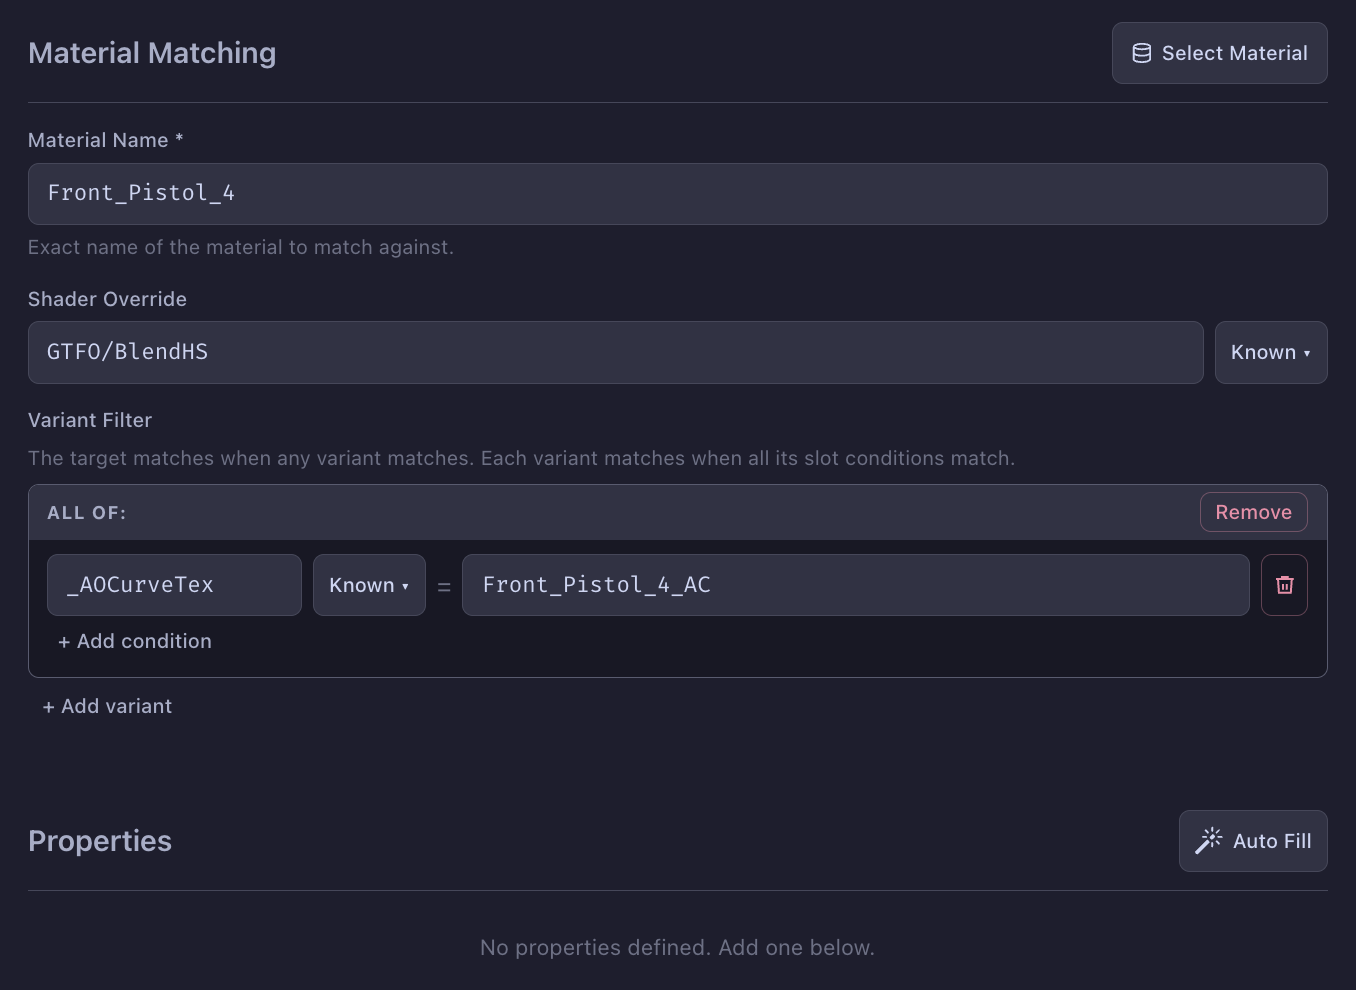
Like I mentioned earlier, I do want to use a different shader. Clicking the Known button will bring up a list of know shaders that the Skins mod has exported details for (this is pre-defined in the mod). I’ll be using the Cell/Player/CustomGearShader shader — clicking on the entry will fill in the field for us.

Customizing Properties
This is where the actual juice for customization comes in. If you utilized the “Slots to create” option, some texture properties are already created for you. Here, I’m starting off from am empty slate.
Adding Properties
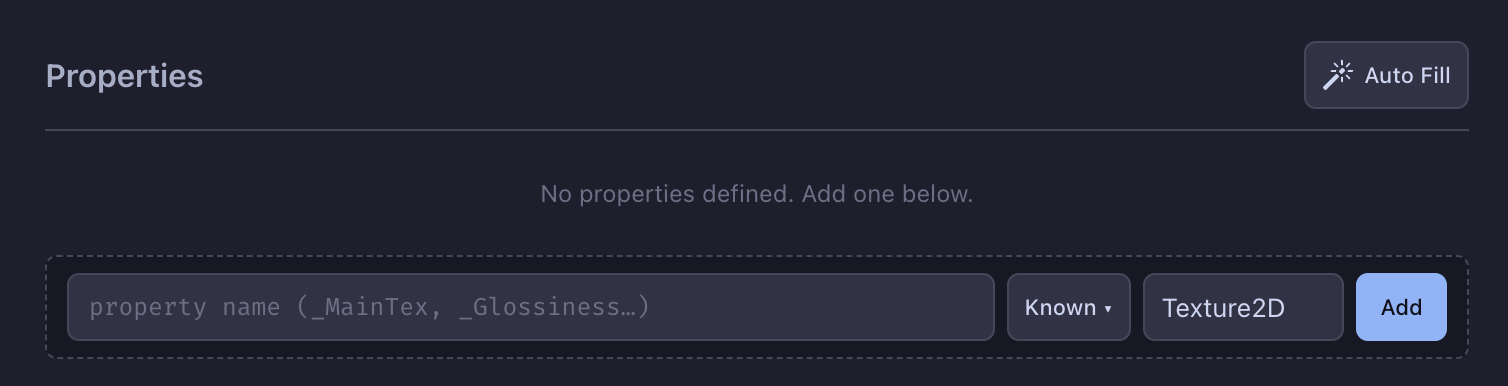
We can start adding any additional properties we want to adjust by clicking on the Known button once again, this time on the bar under “Properties”. This will bring up a property selection dialog — you can adjust any of the filters here to see different types of properties on different shaders. There is also a shader filter select: this should be pre-selected to the “Shader Override” shader if one is defined there and we have information on it.
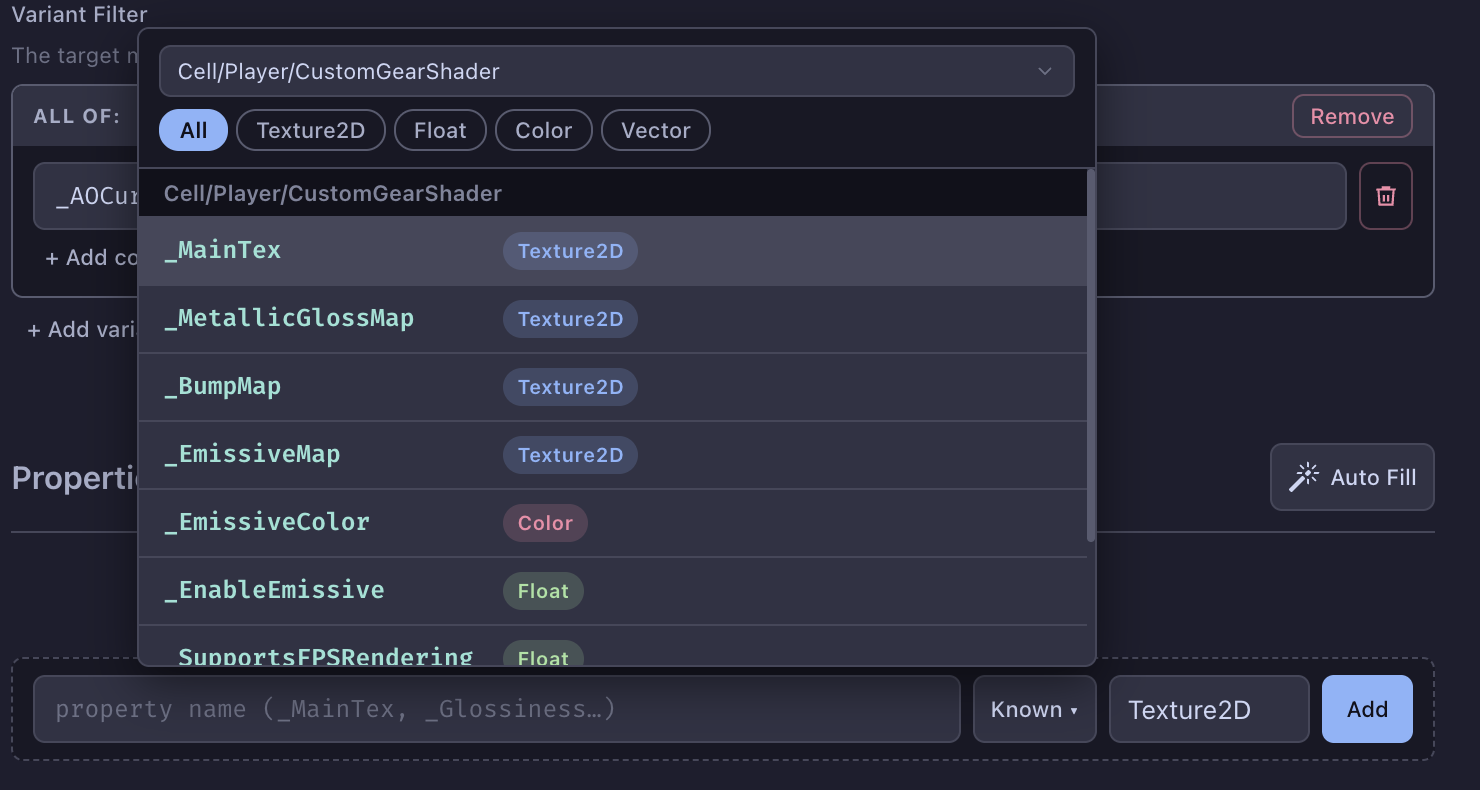
Texture Properties
After adding a texture property, you will see a dialog for you to specify the source as well as import options. You can specify the relative path to a image for the source relative to the current Material Target manifest file. You can use the Browse… button to select a file from disk, the relative path will be automatically inferred.
If you want a more efficient way in adding these texture references, check out Texture Auto Fill.
For details on the import options, check out import options under Texture2D.
Warning
For all intents and purpose, it is HIGHLY recommended to have the images that you are referencing inside the Skin Group folder.
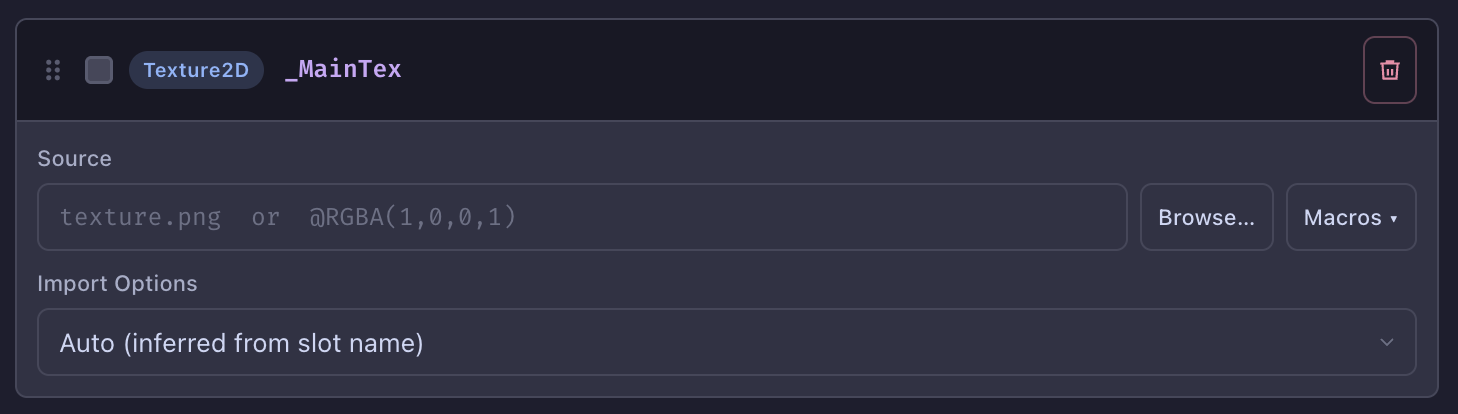
Funny enough, this is where I start to not have much to say. The actual details of what texture properties to adjust, what the textures should look like, etc. are the essence of designing a skin — something that is rather out of scope here, and also something that I am not very good at.
Info
If you have no idea where to start, I would start by searching up what each of these texture property names might represent. This will give you somewhat of an idea of what should go into them. It is a deep rabbit hole, so I will stop here.
Info
I do have a
shitty skin making tutorial, if you really have no other resources to look at 🍋:
https://www.youtube.com/watch?v=pH1EKy6OTOc
Do note that I made this before this mod existed. The modifying asset bundles part of the tutorial is no longer needed if you specify textures inside Material Targets.
Info
Around 90% of the gear parts in GTFO uses the
Cell/Player/CustomGearShader, so looking into the properties of that shader is not a bad idea.
If you (now) have an idea of what these properties might mean or you just want to tread on, there is one more thing with customizing Textures that I want to show you. (THIS IS IMPORTANT!)
Texture Properties with Texture Macros
Texture Macros are pretty neat, they make it easy for you to specify a texture without creating an actual image and saves you the space of an actual image in the Skin Group.
Click on the Macros button to bring up the macro selection dialog.
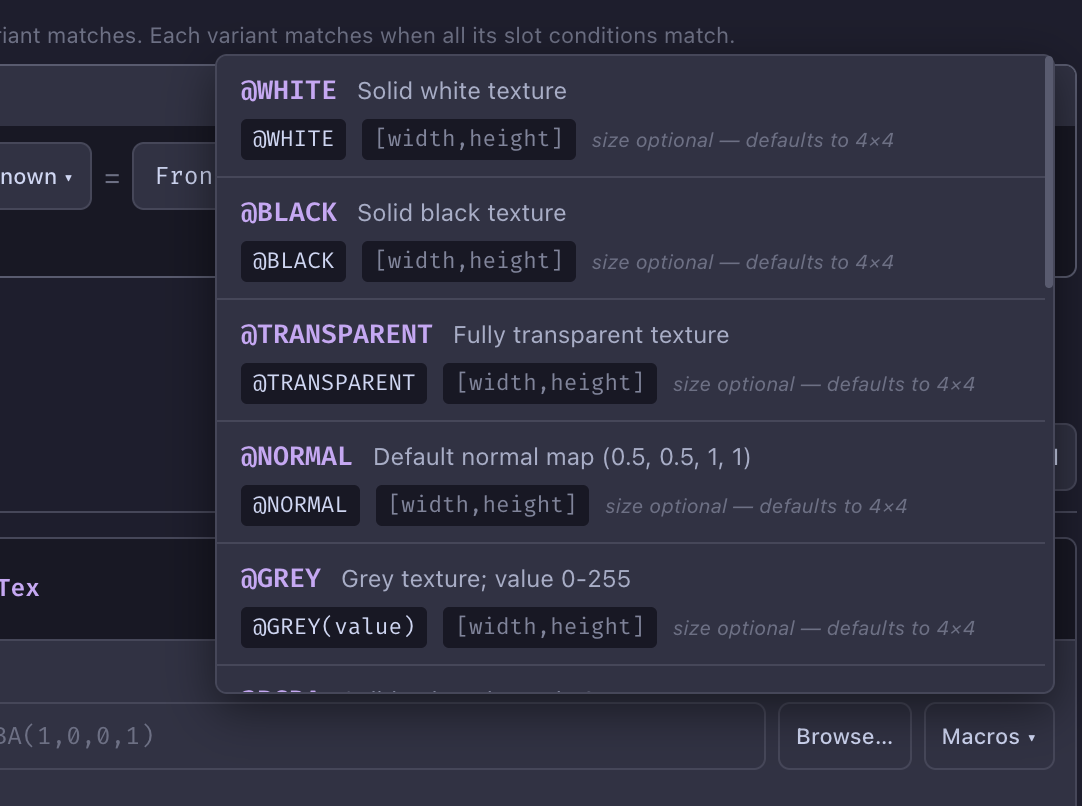
Now, you can select any of the macros to specify a complete texture that will be created in-memory when the game starts. For any additional details on each macro, see Texture Macro.
Info
If you have any useful macros in mind you would like to exist, send it over.
Now, say you want to change the color of a gear part by adjusting the the _MainTex albedo, we can add a simple @WHITE macro to make it white, @BLACK to make it black, @RGBA to make it a specific color, or @GRADIENT_V to make it a vertical gradient.
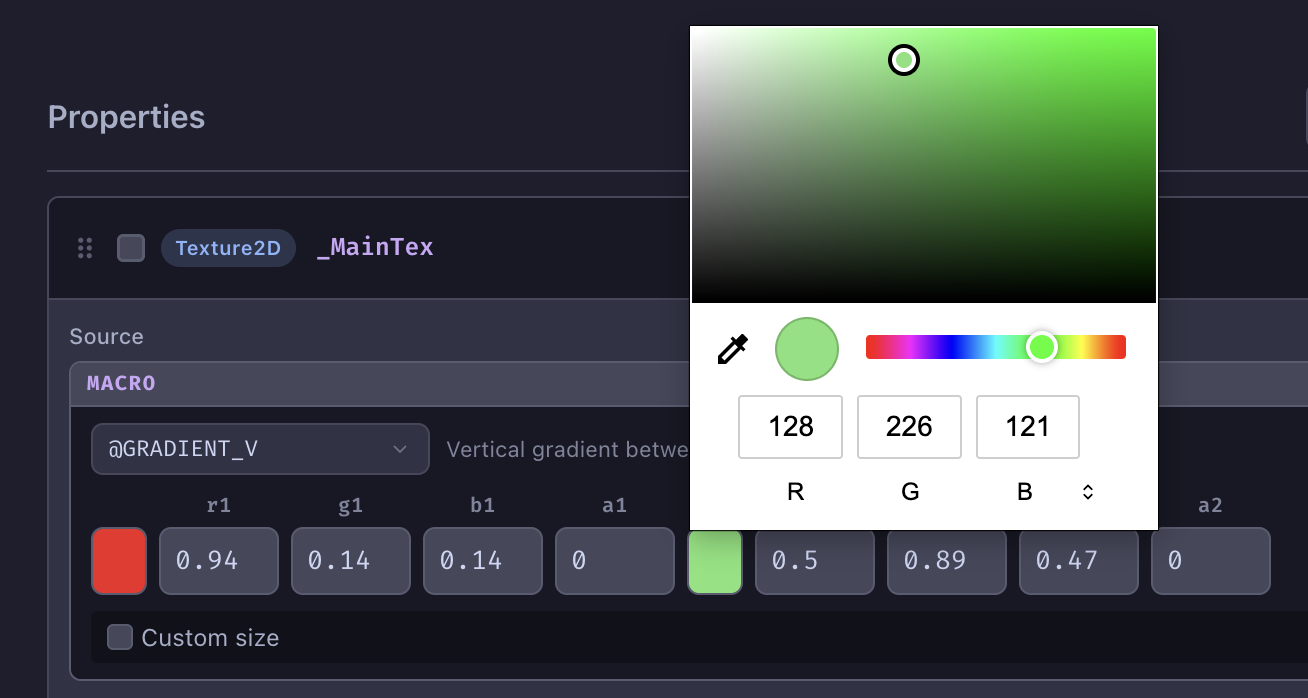
For the sake of education, I will talk about a few special macros in detail.
Normal Map
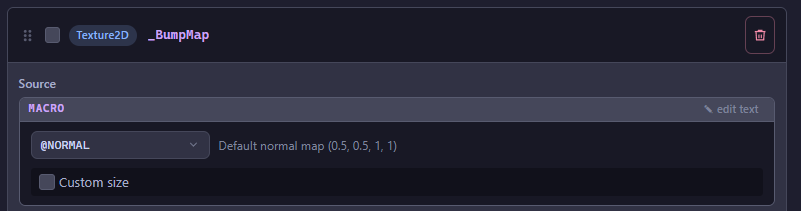
Normal maps adjusts the actual normals on a mesh by encoding a vector override in the form of pixel colors on a texture. If you want to override a normal map to make the model look smooth, you can use the @NORMAL macro. This macro sets the texture for the normal map to not modify any of the normals. An example is _BumpMap in Cell/Player/CustomGearShader, you can reset the normal by applying the macro in the slot.
Metallic Smoothness (Glossiness)
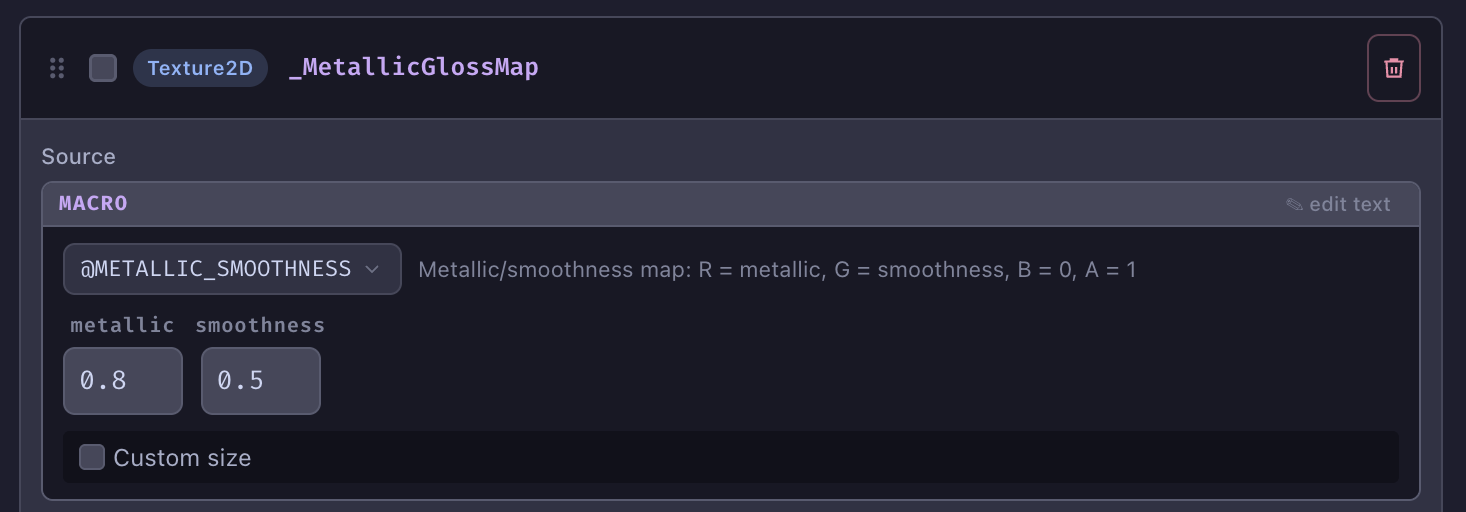
A pretty cool map is the the Metallic Smoothness map — as the name says, it customizes how metallic and smooth/shiny a material is. You can play around setting these two properties for the entire Material Target by using the the @METALLIC_SMOOTHNESS macro on the _MetallicGlossMap slot. It’s hard to describe it in words what these modify, so I won’t bother here, but it is pretty cool.
Other Properties
These differ from shader to shader, but you can add them the same way you add a texture property adjustment.
One notable mention is the _EmissiveColor property and the _EnableEmissive property.
The former adjusts the tint (or overall brightness if grey) of how the texture in _EmissiveMap is used. The latter, contrary to what it sounds like, does not enable emission on the shader from experimentation, a ENABLE_EMISSIVE shader keyword does that job instead. We enable this keyword for you if you specify a _EmissiveMap, so you don’t have to worry about that.
